How do I use the Microsoft Office Email Archive feature?
Using the Office 365 Online Email Archive and Setting Retention Policies
Each Office 365 email enabled account features an Online Archive mailbox. An archive mailbox is a specialized mailbox that appears alongside the users’ primary mailbox folders in Outlook or Outlook Web App. Users can access the archive in the same way that they access their primary mailboxes.
Features of the Archive Mailbox
- Unlimited archive email storage that does not use your primary mailbox quota
- Messages can be moved to the archive automatically or manually
- The Archive mailbox is easily accessible through the Outlook Web App (OWA) and Microsoft Outlook 2013 and higher
- Messages in the archive mailbox are easily searchable and viewable from any location
Moving Messages to the Archive Mailbox
Users can drag and drop messages from .pst files into the archive called Online Archive – “Your Email Address”, for easy online access. Users can also move email items from the primary mailbox to the archive mailbox automatically, using Archive Polices, to reduce the size and improve the performance of the primary mailbox.
Users can import data to the archive in the following ways:
- Import data from a .pst file using Outlook’s Import and E xport wizard .
- Drag email messages from .pst files into the archive.
- Drag email messages from the primary mailbox into the archive.
- Let archive policies automatically move email messages from the primary mailbox, based on the age of the messages.
Apply a Retention policy to a folder:
- Right-click on the folder and select Properties.
- Go to the Policy
- Select the type of Retention policy you want to apply.

How do I view my transcript?
Logon to http://students.neit.edu
Go to “Web for Students.”
Click “Enter Secure area.”
Click on “Registration, Student Records, Financial Aid.”
Click “Student Records.”
Click “Academic Transcript.”
How do I add classes online?
Logon to http://students.neit.edu
Go to “Web for Students.”
Click “Enter Secure area.”
Click on “Registration, Student Records, Financial Aid.”
Click “Registration.”
Click “Register/Add/Drop Classes(View Classes)”
How can I view my grades?
Logon to http://students.neit.edu
Go to “Web for Students.”
Click “Enter secure area.”
Click on “Registration, Student Records, Financial Aid.”
Click “Registration.”
Click “View my Schedule.”
How do I use the NEIT Cisco Jabber phone system?
The Department of Technical Services (DOTS) has upgraded their NEIT’s telephone system; we are now using a modern / cloud-hosted solution.
A few phone / dialing functions different from old system
- Users will no longer need to dial “8* to make external calls
- All external calls will require full 11 digit dialing (1-401-555-1234)
- The redial button will now function for external calls
The new phone system is “feature-rich” and technically more advanced than our current system.
To learn more about JABBER
https://www.cisco.com/c/en/us/products/unified-communications/jabber/index.html
How do I register my gaming device with NEIT?
To use your Gaming Device you first need to register the device with our system.
Register your gaming device click or go to the site below.
http://cmrc.school.neit.edu/registration/index-registration.jsp
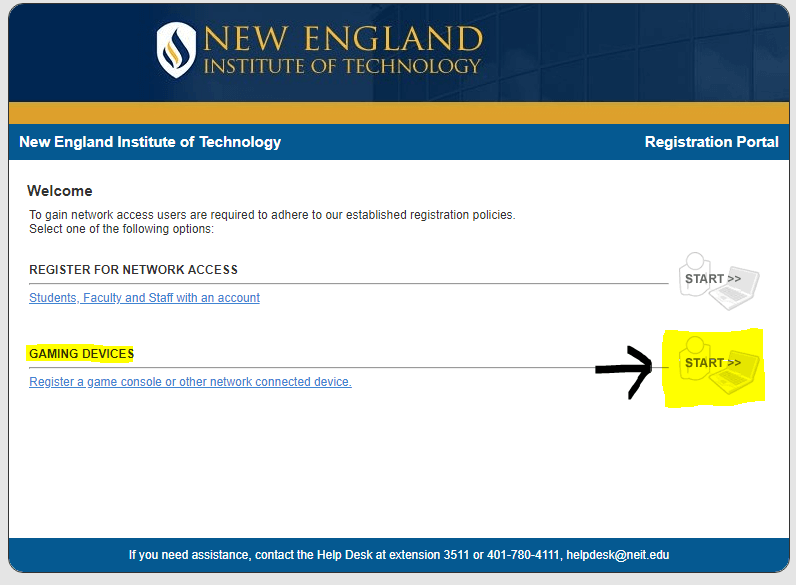
Select Gaming Devices and Click on START
NOTICE: Game Console users must use a hub or switch for online gaming. Routers are not allowed.
- Connect your Game Console to the network and start it up with an online game.
- If you are plugged into a hub in your room, unplug the ethernet cable going from the wall to the hub or switch (routers are not allowed), wait 5 seconds, then plug the hub back in.
- Locate the current ip address or mac address of the console and copy it down. For instructions on obtaining your Mac address, click here.
- Enter your User ID and password and the current IP address or MAC address of your Game Console below. Then click the “Register” button.
How do I install the Cylance Antivirus product?
Cylance Smart Antivirus
Student Benefit: Protect Your Devices Against Malware with Cylance Smart Antivirus for FREE!
NEIT is pleased to offer students anti-virus software to safeguard personal devices from malware, ransomware, and other cyberattacks. We have partnered with Cylance® to protect our corporate devices, and as part of our steadfast commitment to information security, we are now happy to offer students exclusive access to the same caliber of anti-malware protection for up to 10 of your devices.
Key Features of Cylance:
- Proactive Protection — Predicts and blocks never-seen-before malware attacks on you and your loved ones — before it can harm your system
- Simple and Effortless — Easy to install, manage, and configure; updates itself and automatically protects your devices for a set-it-and-forget-it security experience
- Low Performance Impact — Silently protects your devices without bogging down performance
To take advantage of this offer, follow the instructions in the following link to register your license:
https://home-registration.cylance.com.
You must use your NEIT email address when registering to receive your free license.
IMPORTANT:
- Students must register with their @email.neit.edu email address.
- NEIT has no access to student systems or the student dashboard.
- NEIT provides no support for this offering. Students need to contact Cylance for support.
NOTE: After your license has been created and setup, you can log into your Cylance Smart Antivirus Dashboard at any time by going to https://mydashboard.cylance.com (we recommend bookmarking this link on your web browser).
NEIT has no access to your license, dashboard or systems once you register. NEIT also provides no support for the product. If you require support, please contact Cylance.
How do I install and use Microsoft One Drive?
What is OneDrive for Business?
If you’re using Office 365, you get 1 TB of space in the cloud.
All files that you store in OneDrive for Business are private unless you decide to share them. You can share files and folders with co-workers so you can collaborate on projects. If you’re signed-in to Office 365, you may even be able to share with partners outside of your organization, depending on what your company allows.
Tip: When you send email from Outlook Web App, you can attach a OneDrive for Business file as a link, instead of sending an attachment. When you Attach a file as a link, you automatically give the people you send the message to permission to edit the file. Plus, you save space in everyone’s mailbox and encourage people to edit the same copy in OneDrive for Business.
To get to OneDrive for Business:
- Sign in to Office 365 or your SharePoint site with your work or school account.
- At the top of the page, select the app launcher
 , and then select OneDrive.
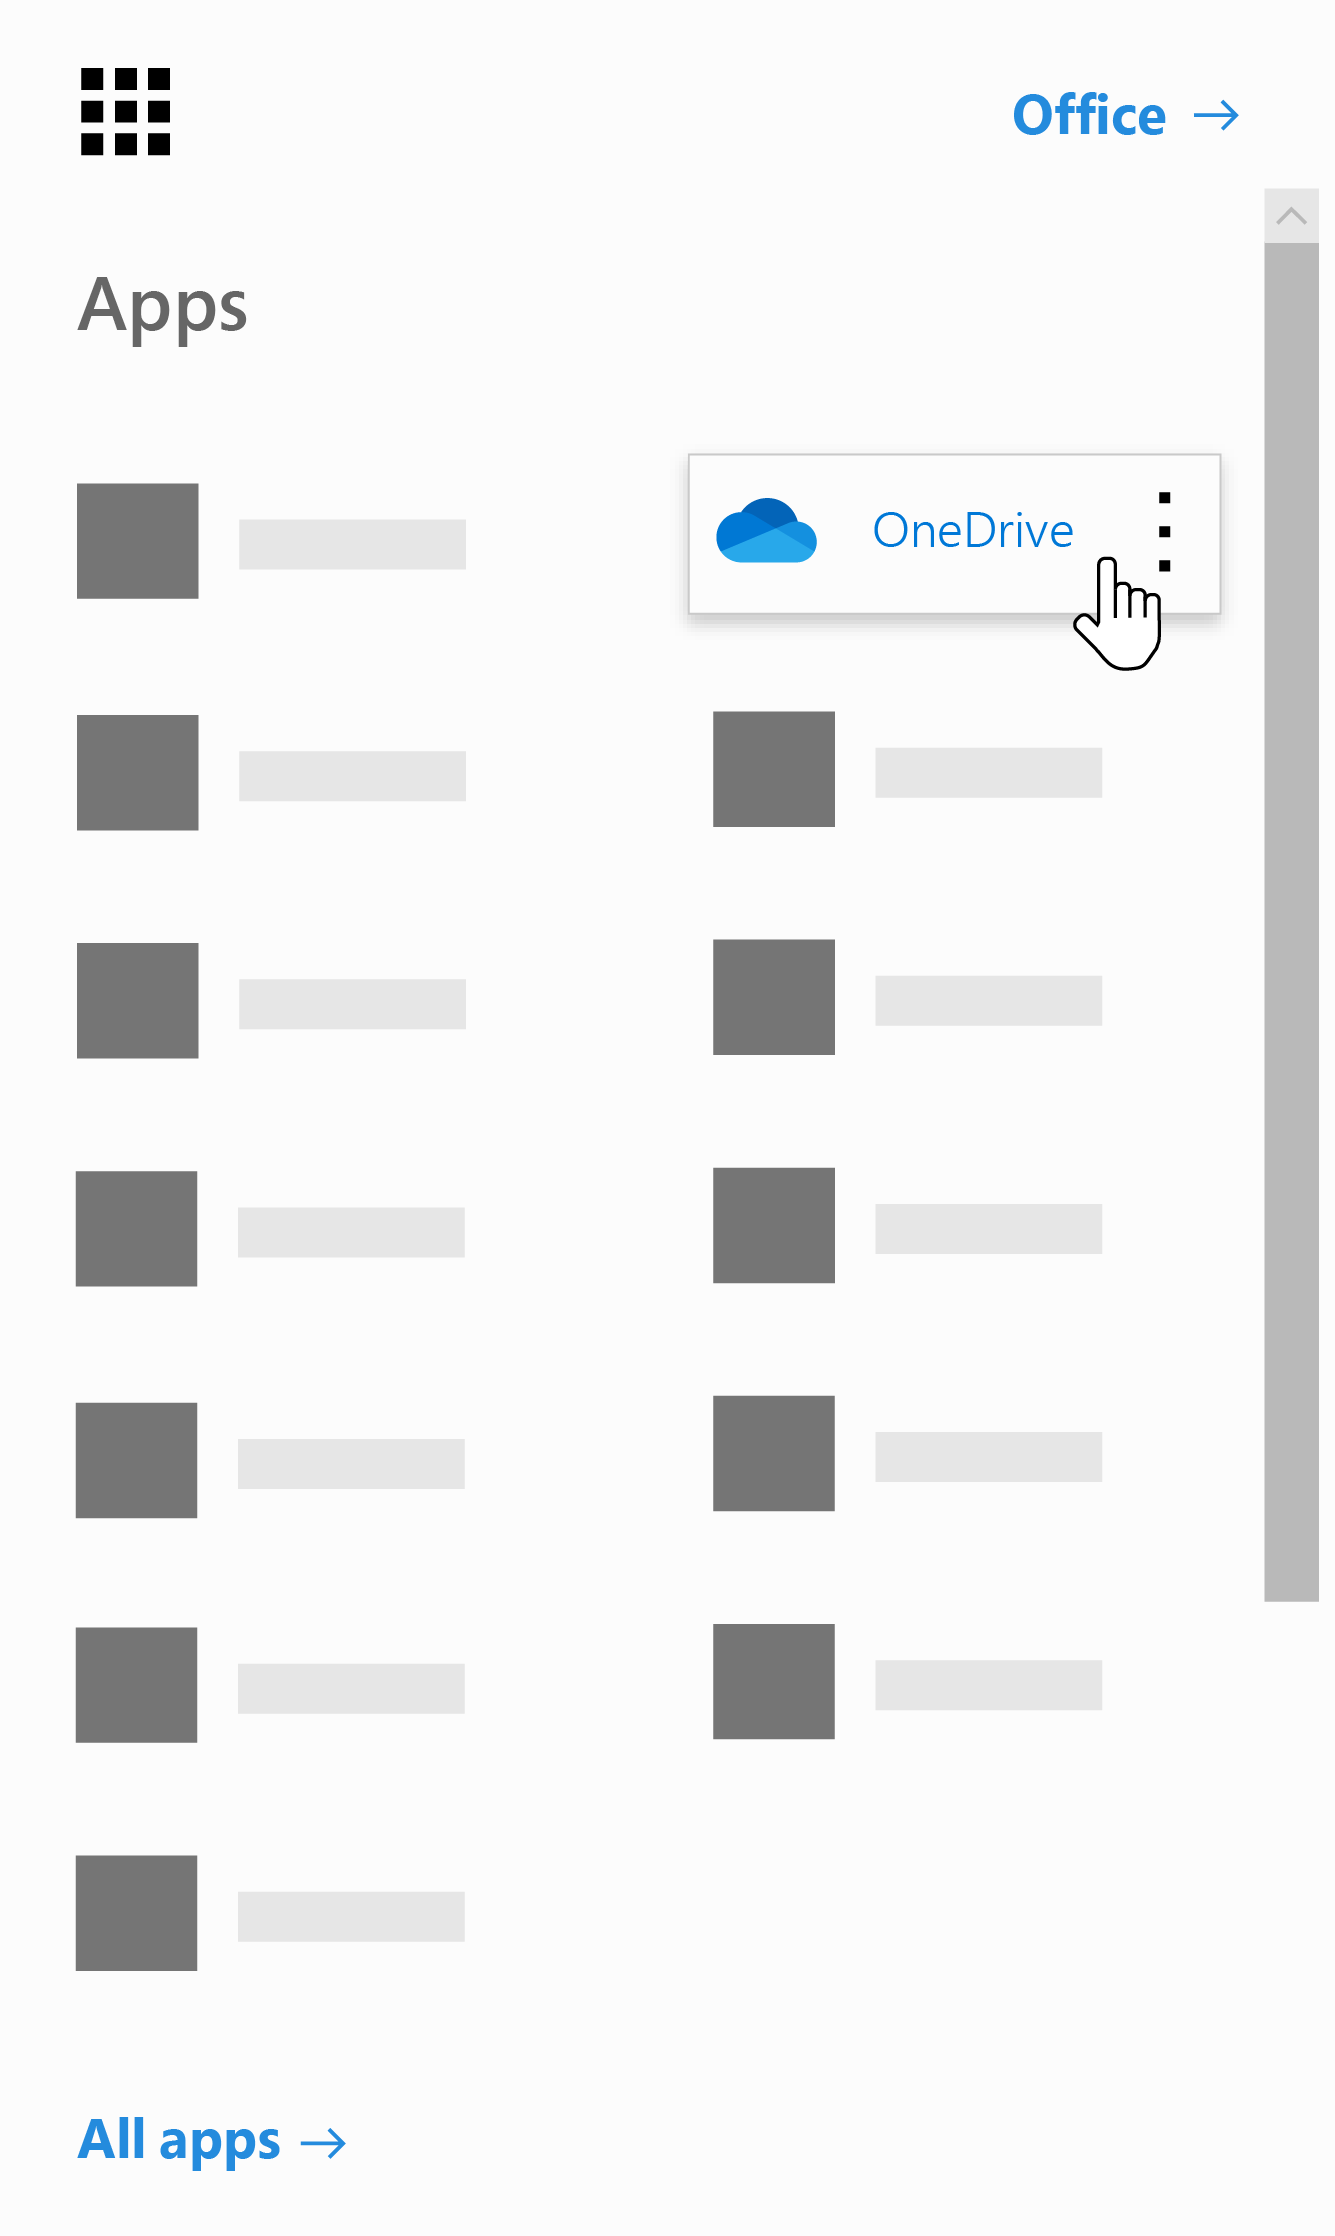
OneDrive for Business is part of your organization’s subscription to SharePoint Online in Office 365 or through an on-premises installation of SharePoint Server.
It’s all OneDrive, which means you use the same apps to sync files down to your Windows PC or Mac, or get to your files from your Android or iOS device. You just sign in with your work or school account to use OneDrive for Business, or sign in with your Microsoft account to use OneDrive personal.
- OneDrive is online personal storage that you get when you set up a Microsoft account to use services such as Outlook.com or Xbox. Use OneDrive to save documents, photos, and other files in the cloud, share them with friends, and even collaborate on content. When you subscribe to Office 365, you get 1 TB of storage and premium OneDrive features.
- OneDrive for Business is online storage for work or school. Your OneDrive for Business is managed by your organization and lets you share and collaborate on work documents with co-workers. Site collection administrators in your organization control what you can do in the your OneDrive library.
Although you can’t connect your personal OneDrive to your Office 365 business account, you can copy or move files between them. To move files between your personal OneDrive account and OneDrive for Business follow these steps:
Copy files between personal OneDrive and OneDrive for Business
- Sync both versions of OneDrive to your local computer. See Sync files with the OneDrive sync client in Windows for more info.
- Open both folders on your computer, and copy or drag files from one folder to the other.
- Re-sync both folders with OneDrive.
Note: In the header or elsewhere on your SharePoint or Office 365 site, ‘OneDrive’ appears as an abbreviation of OneDrive for Business to keep things simpler.
For more information about using OneDrive for Business and the OneDrive sync client:
| For information about | Go to |
| Storing and managing files | |
| Sharing and collaborating on files | |
| Syncing files to your computer |
How do I send and read encrypted emails?
Encrypted Email Overview
Email traditionally is insecure and the privacy of content cannot be guaranteed when sent outside the organization. Encryption secures email so that the content is not readable to unintended recipients.
NEIT uses Office 365 encryption, which is available to anyone with a NEIT email address. Use email encryption when sending to a recipient that is outside our organization in order to protect sensitive information. As long as the recipient replies using the same method they use to read an encrypted email, their response will be encrypted as well. If you have an external recipient who needs to send you private/sensitive information, you can send them an encrypted email which they can use to reply back to you. (For those who currently use sendinc.com for encrypted email, this method will replace sendinc.)
Sending Encrypted Email
- Navigate to https://outlook.office.com
- Sign in with your email address and password
- When composing a new email, click the Encrypt button.
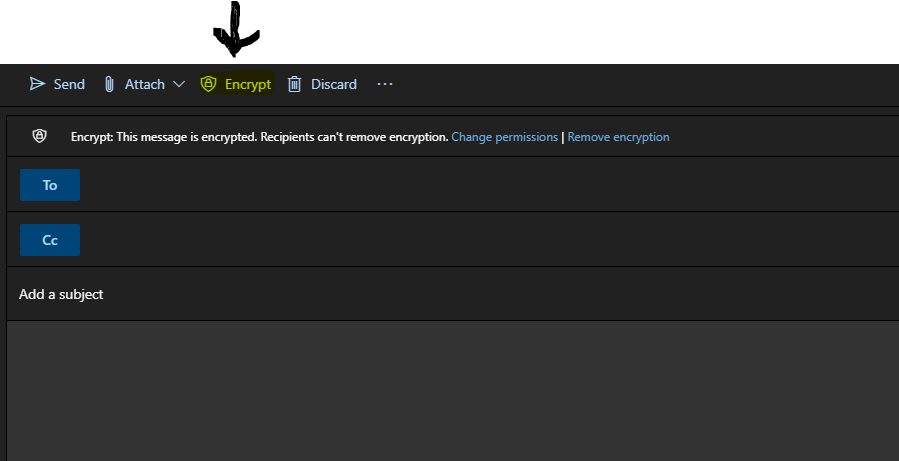
4. Compose and send the email as you normally would
Reading and Replying to Encrypted Email Responses
Instructions for NEIT users
In most cases, when you receive a response to an encrypted email, the system will automatically decrypt the response before it is delivered to your mailbox. Some versions of Outlook for Desktop do not have the ability to decrypt encrypted emails. If you are running one of these versions, the response will be shown in your mailbox as encrypted. In order to read the email, you will need to use one of the following methods to view and respond to the email.
- Use Outlook on the web
- Use Outlook on a mobile device
- Use Outlook for Desktop and click on the Read the message link in the encrypted email. If you wish to move to a version of Outlook for Desktop that supports decrypting encrypted emails, please contact the DoTS help desk.
Instructions for External Parties (those you are sending encrypted email to)
Office 365 recipients outside of NEIT – If the recipient’s email is hosted in Office 365, their experience will be the same process as those for NEIT users reading and responding to encrypted email responses.
Other recipients – All other recipients will need to follow the “Read the message” link in the email notification they receive. Depending on their email provider, they may have different options to access the email. Regardless of the provider, the recipient will have the ability to log in using a One-Time passcode. The One-Time passcode method will send a temporary passcode to the recipient via their email. The passcode can then be entered in the Office 365 site in order to view the email.
No data that is classified as credit card or financial account information (including bank or other account numbers and routing information) shall be captured, transmitted, or stored via New England Tech email. This includes but is not limited to social security numbers, financial account & routing information, or tax forms. Data classified as personally identifiable information (PII), sensitive organization data, medical records/HIPPA protected information or information found in background checks, should only be captured, transmitted, or stored via New England Tech email for internal use only (i.e. only to and from {between} neit.edu email addresses). If it is necessary to exchange PII, sensitive, or protected information with an external party, encrypted email must be used. NEIT business must be conducted using NEIT email; the use of personal email accounts to conduct NEIT business is strictly prohibited.
How do I register my device on the Residence Hall network?
If you have a Chromecast, Roku, Apple TV, gaming console or similar device, you can automatically register these devices when you connect to the NEIT-ResNet ssid.
Use the link below to manually register your devices (you must be in the residence hall to use this link):
How can I learn to use Office365 products?
Videos and other information on how to use Microsoft Office 365 products can be found here:
Microsoft Office 365 Training Center
How do I access my current classes?
Logon to http://students.neit.edu
Click “Canvas”
“Grades” shows detailed grades for each class
“Courses” shows you what classes you have available
“View All or Customize” under “Courses” lets you enable or disable which classes come under the “Courses” drop down
“Calendar” shows you a calendar with assignment due dates
How do I connect my printer in the Residence Hall?
NEIT’s wifi networks do not support wireless printers. To use a personal printer, you will have to connect it to a network wall jack in your room or in a public area.
If your device does not register automatically, you can register it manually on NEIT-ResNet. To do this, connect to a laptop or other computer on NEIT-ResNet.
Register it if necessary; if already registered, use this link:
Residence Hall Device Registration
After your laptop is registered, you will be presented with a page allowing you to register additional devices. You will need to enter the MAC address (also called “hardware address”) of your device.
You can look online for information on how to obtain your MAC address, or you can call the Helpdesk for assistance.
- (401) 780-4111 Ext. 3511
- Email: [email protected]
What is NEIT’s Password Policy?
NEW PASSWORD POLICY, as of August 1, 2018:
- All passwords will be managed by our TechNet portal when users logon to Technet / Students website. Users cannot change passwords in Windows or in Web for Students/Faculty.
- A “Change Password” button inside Technet/Student portal page appears when a user need to change their password. If a user has forgotten their password or cannot logon for some reason, they must use the “forgot password” button on the logon page. They will be prompted to authenticate with one of the authentication methods they have previously configured, such as security questions or mobile phone.
- Password length – currently minimum 8 characters, will increase to 14 characters effective November 1, 2018. Users will be prompted with the new requirement the next time their password expires. They will not be forced to change their password on Nov 1 unless it would have expired on that day.
- Password complexity – at least 3 of these: capital letters, lowercase letters, numbers, symbols
- Password expiration – 90 days, must wait 24 hours to change password a second time
- Password reuse – Users cannot use any of their previous 5 passwords
- If Help Desk or staff absolutely need to get a user’s password, the procedure will be for a staff member to change the password, allow DoTs to access the account, and then set it so that the user is required to change the password on their next access.
- Users are not allowed to use any part of their username in their password.
- Users are not allowed to use dictionary words; no legitimate words should be used in password
- Passwords must not be shared with ANYONE. Users cannot under any circumstance give their password to student employees or temporary workers.
- Passwords must never be written down. DoTS recommends the use of a password safe such as this free one: http://pwsafe.org. The Help Desk can assist with setting up this password safe.
- Passwords should never be sent through email.
- Users must answer security questions with legitimate answers – Users should not make up answers because they may need to use the answers later to unlock accounts
- Users should not use passwords for NEIT accounts that they use for personal accounts such as banking, online shopping, social media, etc
- No Dept of Tech Services employee will ever ask a user for their password; users will not be asked to share passwords with DoTS and they should not share passwords with anyone if they are asked.
How do I make online payments to my NEIT account?
TOUCHNET STUDENT/PARENT AUTHORIZATION DIRECTIONS
- Log into students.neit.edu with your NEIT credentials
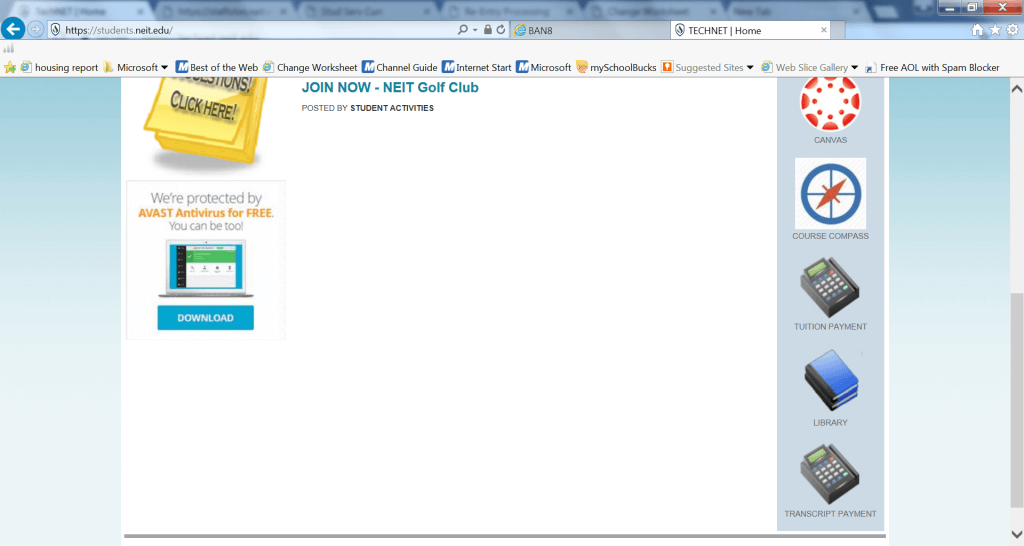
- Click on the Credit Card machine icon that states tuition payment.
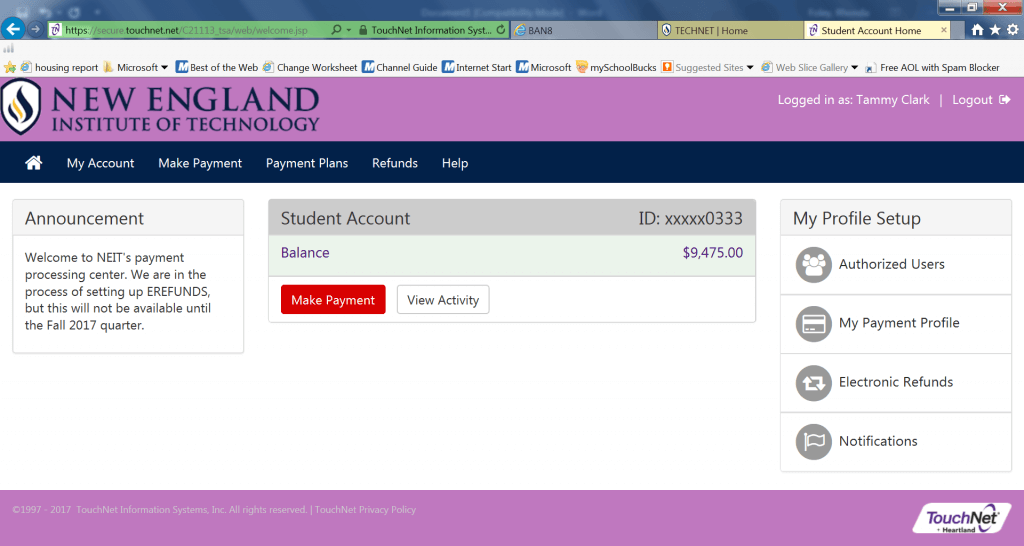
- You will be brought automatically to the touchnet payment portal. Click on Authorized users in the righthand column.
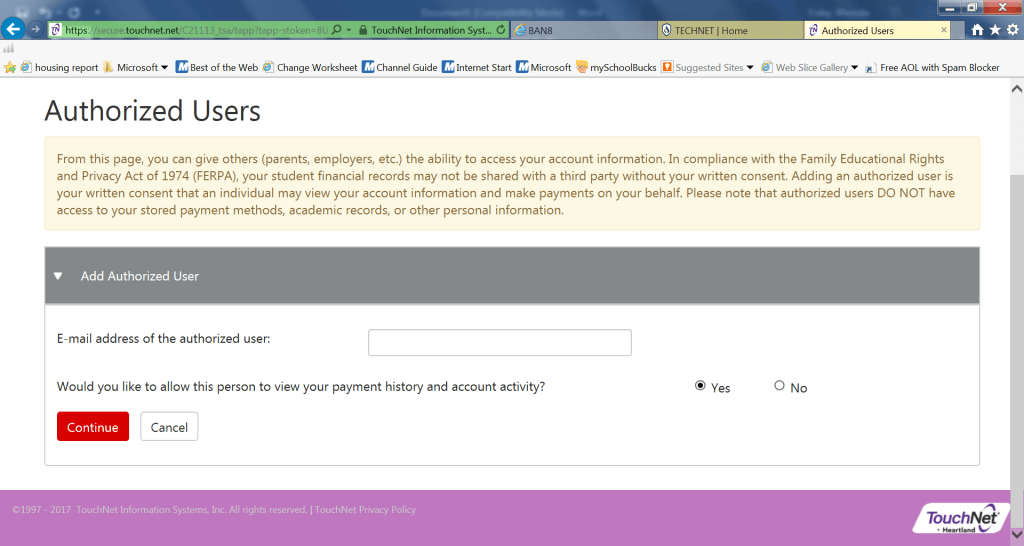
- Enter the email of the authorized user. Hit continue. An approval page may appear. Hit agree if it does.
- The authorized user will receive 2 emails. One with a user name and another with a password. The user will click on the link provided. (see below in the email sample)
Hello and welcome!
The student listed below has granted you online access to his or her billing information.
You can now make, schedule, and automate payments on behalf of this student.
Please log in using the password shown below. For security, the other login information for this account is sent in a separate message.
Access Information
Student Name: TXXXX ClaXX
Temporary Password: cksqkogpvx
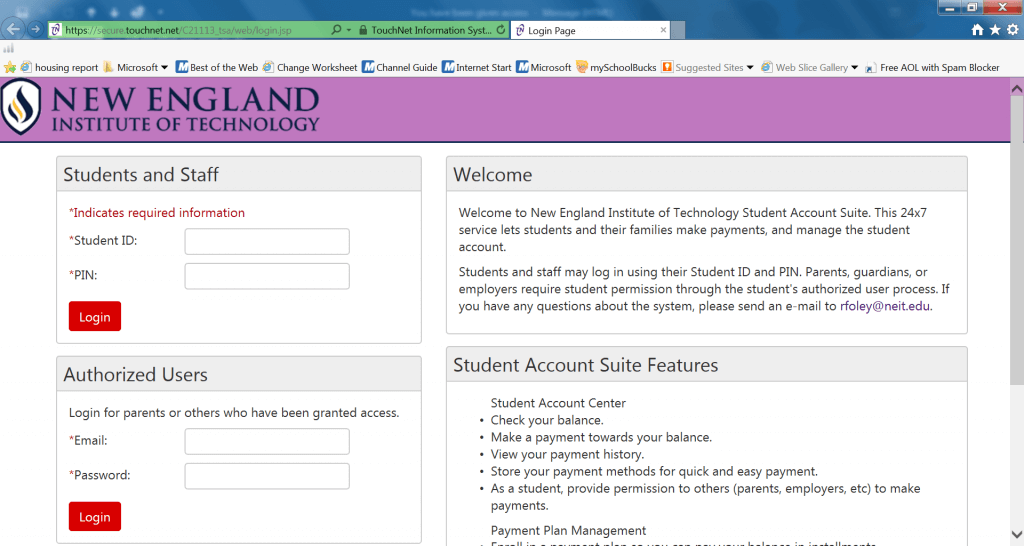
https://secure.touchnet.net/C21113_tsa/web/login.jsp
________________________________________________________________________________
Hello and welcome!
The student listed below has granted you online access to his or her billing information.
You can now make payments on behalf of this student, schedule, automate future payments, and more.
To access the student’s account, please log in using the site and username shown below. For security, we are sending the initial password for this account in a separate message.
Access Information
Student Name: TXXXX ClaXX
Username: [email protected]
https://secure.touchnet.net/C21113_tsa/web/login.jsp
- The authorized user will enter in the email and the password provided in the email.
- The authorized user will complete the form below with a new password and hit save.

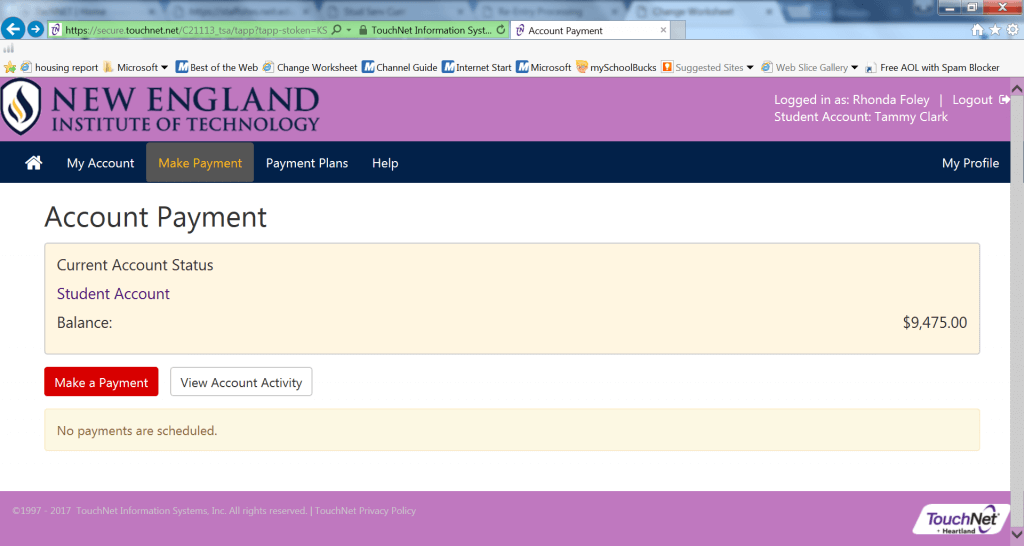
- You will now be able to see the information on the student and authorize payments.
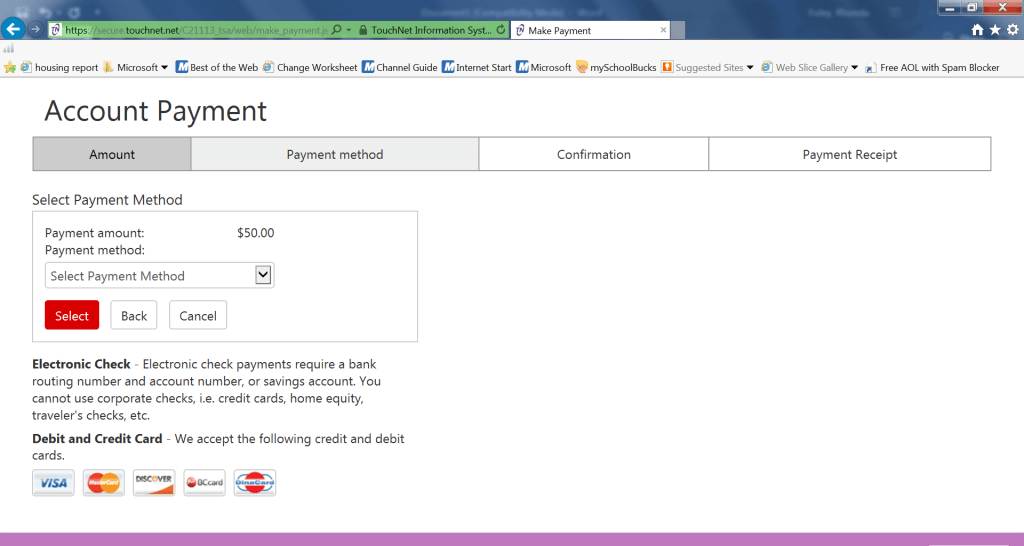
- To make a payment click the ‘make a payment’ box
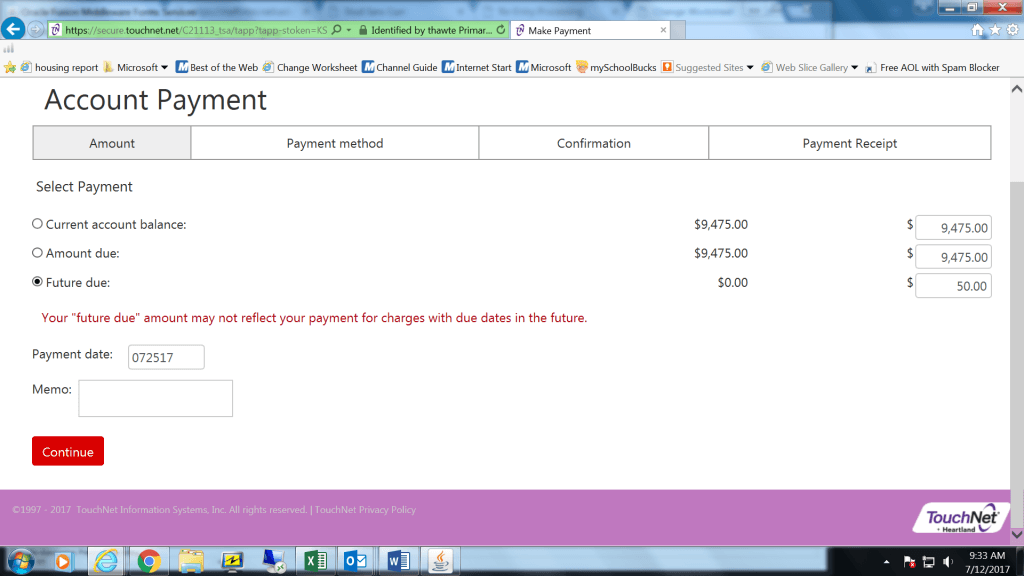
- You can choose to pay the whole balance, the amount due which will be the same normally or a future date which you can enter in any amount you would like.
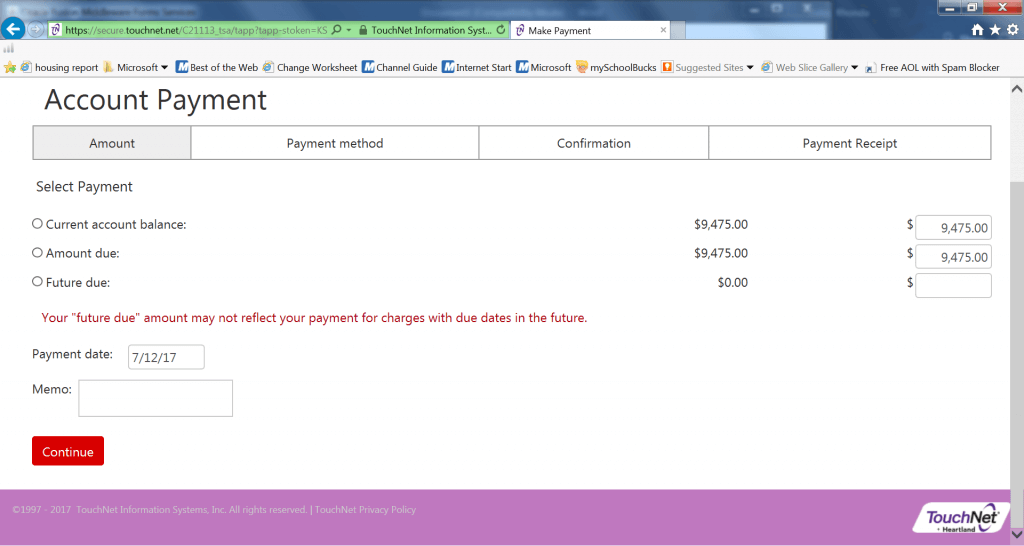
- Enter in the amount you want to pay and the date if you would like to pay it in the future. Then hit the continue button.
- You will then be asked to select a form of payment and then for your payment information. Once you do this, you will also be asked if you would like to save your information for a future date.
How do I access my NEIT email from a web browser?
Go to https://Portal.office.com
Enter you school email address (ex: [email protected])
Select Work or School account
Enter your password
Where can I get a basic overview of the Canvas Learning Management System?
Here is a basic overview for students of the Canvas Learning Management System we use for course materials and communication. Other videos and information on Canvas are available at the above web site.
How do I set up my NEIT email?
Email for New Students
REGISTRATION LOG-IN INFORMATION
EMAIL INSTRUCTIONS
Open an internet browser (Chrome, Firefox, or Internet Explorer) and go to https://students.neit.edu
- Enter your nine-digit Student ID in the User ID box (example 001521409).
- Your temporary password is your 6-digit BIRTHDATE.
- If your birthdate is May 12, 1998 your password will be 051298.
You will be prompted to answer security questions. No repeated question allowed.
Proceed to logon. At the Set Password prompt, click Continue and Enter a new password that is at least 14 characters in length. Your password must contain at least 3 of the 4 categories below:
- Capital Letters
- Lowercase Letters
- Numbers
- Special Characters
You cannot use any part of your student ID, first or last name in your password.
Once logged onto our portal you are all set.
Setting up your school email to your iPhone:
- Go to “Settings.”
- Go to “Mail, Contacts, Calendars.”
- Hit “Add Account.”
- Choose “Exchange”
- Enter your school email
- (first initial) (middle initial) (last name) @email.neit.edu
- Log into Technet with your Student ID and Password
How do I submit course assignments in Canvas?
In this video, you will learn about the different ways you can submit assignments in Canvas.
How and when can I contact the NEIT Help Desk?
Location: Inside Library, Room S105N, Main Campus
Phone: (401) 780-4111 OR Ext. 3511
Email: [email protected]
Contact Us
You may reach the Help Desk without having to go to our Office inside the Library; so whether you’re not at the school or are in class, we can receive your message and do our best to help in a timely manner.
You may also contact anyone that is on the Department Information page.
Email for faculty/staff is usually (First Initial)(Last Name)@neit.edu
Example: John Smith would be [email protected].
In Session Hours:
Monday: 7:30 a.m. to 8:00 p.m.
Tuesday: 7:30 a.m. to 8:00 p.m.
Wednesday: 7:30 a.m. to 8:00 p.m.
Thursday: 7:30 a.m. to 8:00 p.m.
Friday: 7:30 a.m. to 4:00 p.m.
MSOT Program Hours (every other Saturday, weeks 1, 3, 5, 7 and 9):
Friday: 7:30 a.m. to 8:00 p.m.
Saturday: 8:00 a.m. to 4:30 p.m.
Out of Session Hours:
NEIT technical staff use out of session time to reestablish the technical excellence of computer labs and network facilities.
As such, students are encouraged to contact the help desk using email or voice mail. Please be sure to include your name, student ID, and the nature of the issue you are calling about. Most importantly, please include a way in which we may contact you via phone, cell, or email.
Even when we are out of session, NEIT is committed to meeting our students’ needs. Contact information is listed above, and on our Department Information page.
WHAT SERVICES ARE OFFERED:
- Assistance with login credentials for Canvas, Web for Students, and Email
- Lab technical repair reporting
- Wireless Network Access Assistance
How do I participate in the HP Computer Purchase Program?
Disclaimer
New England Institute of Technology (NEIT) makes no representations or warranties, express or implied, including warranties of merchantability and fitness for a particular purpose, nor does NEIT assume any legal liability with respect to the computers sold by the following computer vendors:
HP Academy Store through this offer.
Any and all claims should be made directly to HP Academy Store 1-866-433-2018.
How do I connect to the NEIT WiFi?
New England Institute of Technology has instituted a network security system, Network Sentry, to provide a more secure computing environment for our students, faculty, and staff. The system registers all wired and wireless devices before they are allowed to connect to our network.
A small application called an “agent” will be installed on your computer. This agent runs as a service but is dormant unless your computer is being scanned. The agent will not slow down your computer or use resources unless it is scanning your computer. The scan takes about a minute and is performed once every 15 days to verify continued compliance with NEIT network policies.
The first thing you should do is make sure you have antivirus software installed. We suggest installing our free antivirus Cylance for those who do not own any antivirus software. https://dots.neit.edu/cylance-smart-antivirus/
Your OS must have all updates and security patches installed.
There are two Wi-Fi networks here at New England Tech:
NEIT is our private, secure network which gives you access to NEIT resources.
NEIT-ResNet is for our Residence Hall Residents.
To connect:
- Open a browser and navigate to www.neit.edu, you will be prompted for username and password.
- Username is your 9-digit student ID.
- Password is the same password you recently set when you logged onto the student site for the first time.
- Computers will be scanned for updates and antivirus protection.
- Gaming consoles will only work on NEIT-ResNet and will be automatically registered, so you will not be prompted to register your gaming device.
NEIT makes every attempt to make the system as secure as possible, but there are inherent risks involved when communicating over a network. Always protect your personal information. Be aware that wireless communications are less safe than when using a wired network.